That all you needed to do is install one simple application on your website and you’ll be able to convert more leads to buyers, while also keeping your existing customers happy.
And, best of all the application is completely FREE!
So what is this magical application?
It’s a little tool called a live chat box.
In this article, I’m going to explain to you the benefits of adding a live chat box to your website and then provide step-by-step instructions for installing your live chat box on your website.
All you have to do is read on…
What is a live chat box?
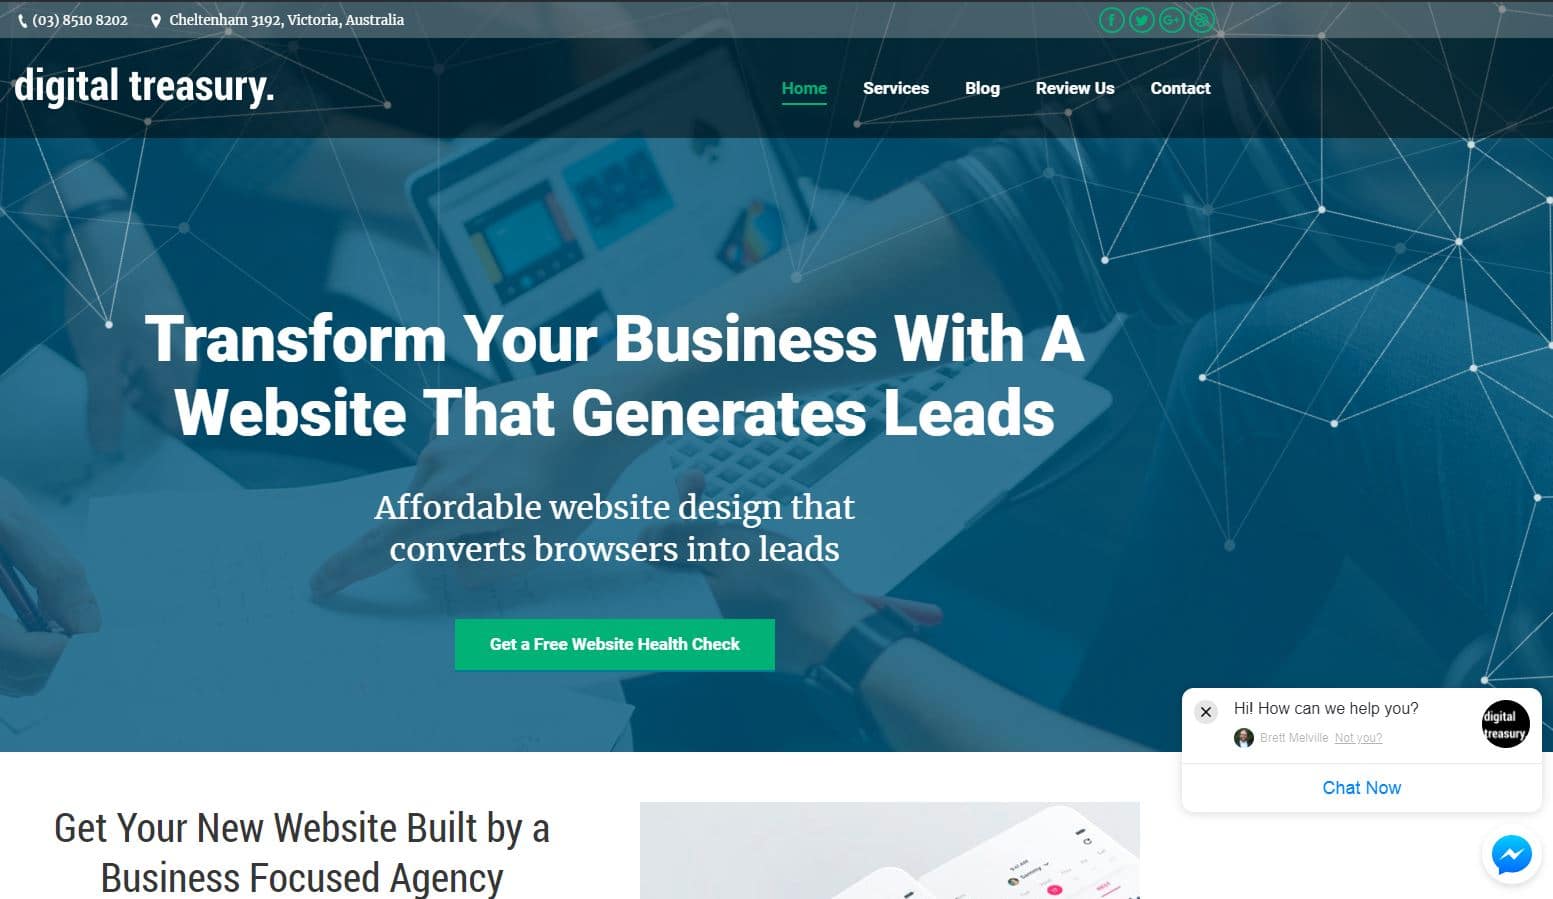
A live chat box is an application that you can install on your website that allows visitors to communicate with you via instant messages.
This means that browsers to your website can instantly ask you any questions they have about your products and services.
A live chat box will help you:
- Answer questions of potential buyers, increasing both conversion rates and website sales;
- Provide quick customer service without the need for a phone call or email;
- Differentiate you from your competitors that don’t respond instantly; and
- Gain insights into common questions buyers of your products and services have.
Whilst there are a number of benefits, the downside of having a live chat box is that you need to be ready to quickly provide replies to your customers questions.
How to Implement a Live Chat Box for FREE
There are many paid live chat box applications on the market that have a tonne of cool features, but most of it’s overkill and you can get a lot of functionality with Facebook Messenger’s free live chat box application.
All that you need to install the Facebook Messenger Live Chat Box is a Facebook Business Page and to follow the simple steps below:
- Go to your Facebook Business Page
- Go to “Settings” and select “Messenger Platform”
- Scroll down the page to “Customer Chat Plugin” and click the “Set Up” button.
- First of all, you can update the ‘greeting’ from the default “Hi! How can we help you?” Once you’ve customised your greeting message, click “next”.

- Then, you’ll be asked to set the reponse time shown to website browsers. I just leave this as “Automatically set response time” which is determined by Facebook.
- Complete the “add website domain name” with your website’s URL.
- Next, you’ll need to copy the custom code for uploading to your website.
- Now, you can install the code on your website below the <body> tag.
- ….. And your website now has a live chat box function!!


