


Before we delve into this article, we want you to know that we mean no disrespect to WordPress. WordPress is arguably the best CMS (Content Management System) in the world. It is easy to set up and the most customizable among the rest. That is why we, Digital Treasury, centre most of our web development on the platform.
Nevertheless, we can't argue against WP's predictability – especially on the login page. You don't have to be an expert to know that every WordPress website uses either "/wp-admin.com” or “/wp-login.php" as their login. However, there’s a catch to that.
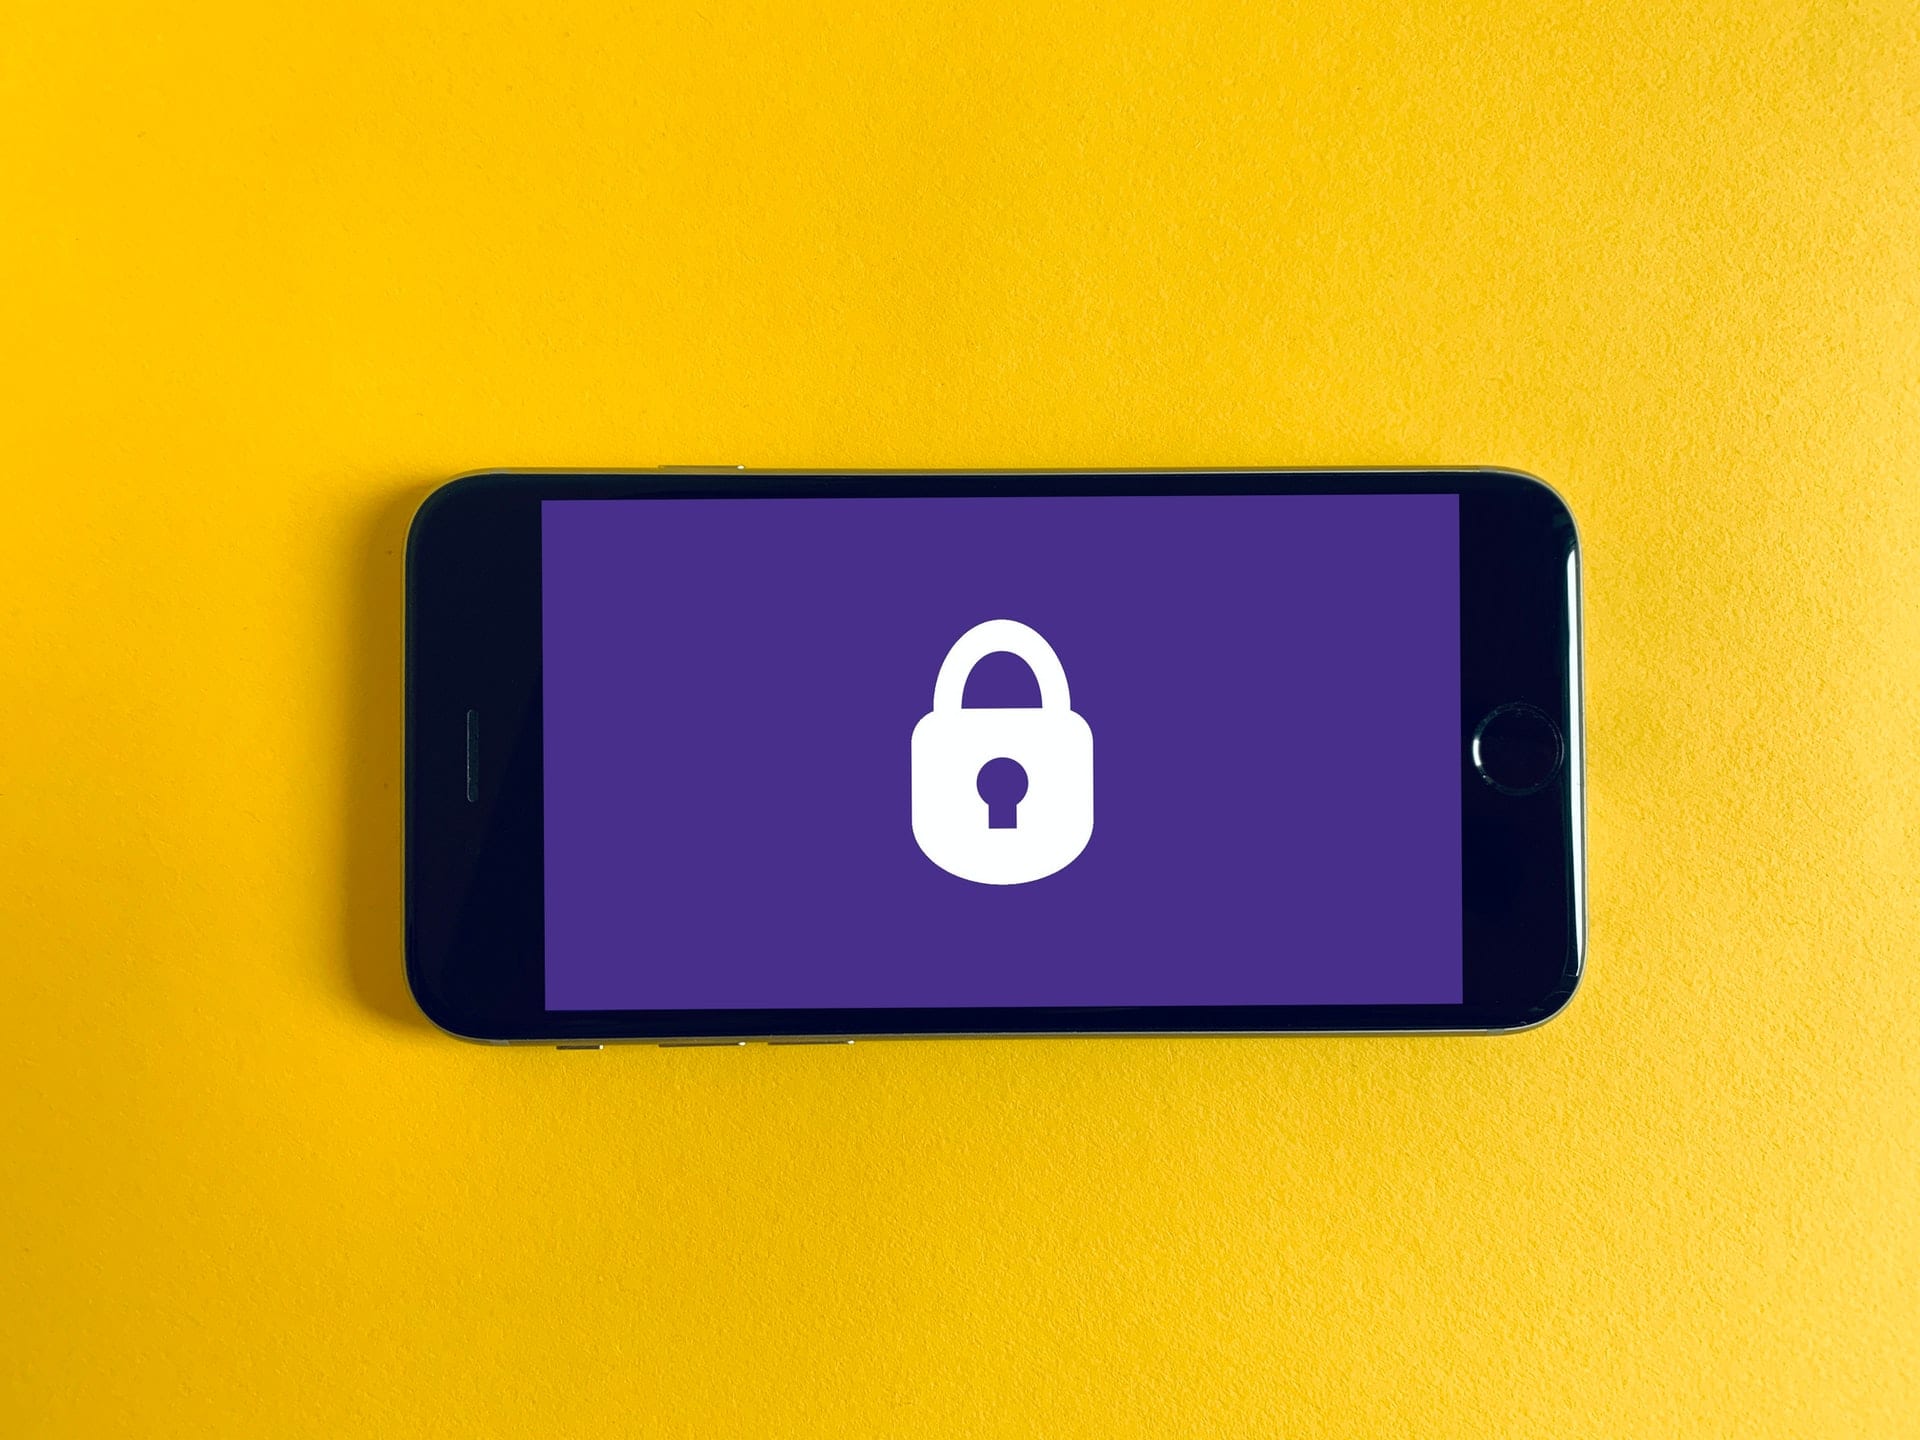
Your data isn’t safe! How so?
Well, hackers could easily access your login page because they already know the suffixes. And when they add that to your URL, it wouldn't matter if you used alphanumeric plus mixed case letters as passwords. Your credentials and data will be at the mercy of "vicious" bots.
So yes, WordPress' login page isn't safe. Does that mean your entire business might be susceptible to online attacks? Should you migrate from WP? No!
We have several ways to secure WP login pages. In this article, we’ll be sharing them all with you.

5 Different Ways You Can Secure Your WordPress Login Page
Note: By now, we believe that you have installed SSL (Secure Sockets Layer) certificates on your WP site and have used “strong” passwords. If not, you should address those issues! Lastly, before you follow the steps we’ve listed below, ensure you first back up your website.
Create Custom Login Page URL
The simplest way to stop hackers from accessing your WP login page is to change it. But is that even possible? Wouldn’t such a change affect your data?
Yes, it is possible to have a custom login URL with no “admin” or “login” suffix. And no, such a custom URL won’t affect the content of your website.
That said, how can you create a custom URL for your WP login page?
- You only need a plugin to start. However, there are tons of them, and they are all easy to use. But if you ask us, we will tell you to use the WPS Hide Login plugin – its interface is beginner-friendly!
- Now, install the plugin.
Note: We’re using the WPS Hide Login plugin as an example to explain the steps below.
- Scroll to the bottom page of the plugin screen. There, you’d find the “login URL section.” Hit that, insert your new URL and save it.
- Next, try logging into your WP site with the new URL.
Last note: Carefully select who can access your new login URL. And, if any of your team members leave your company, remember to change the URL.
Suggested reading: Top 7 WordPress SEO Plugins To Boost Your Rankings
Hide Username
Even after using a custom login URL, take a step further by protecting your data – hide the username of the registered users on your WP site. Now, you might ask, what does it matter?
Usernames are often displayed on WP sites on blog posts under the author space - and even in the archives. While that might seem harmless, a hacker could turn just that little detail against you. So, before that happens, hide the usernames. How can you do that?
- You will use another plugin for this task. We recommend the popular Yoast SEO – the chances are that you already use it for your SEO.
Note: If you don’t have Yoast, you can use any SEO plugin to hide your username.
- So, go to your Yoast, click on “search appearance,” and disable author archives.
- Next, go to the "users" section, click on "nickname" under the subsection "profile." Now, create a new one.
Nicknames are harmless since hackers can't use them to login into your site: you shouldn't hide those – especially when you have user-generated content!
Also read: How Can You Add User Generated Content To Your WordPress Site?
Reduce The Number Of Login Attempts
You might ask, what if a hacker somehow unearths a username despite your hiding efforts? Well, he still has to enter a password. Now, by default, the hacker would try various combinations until he hit the perfect match. Well, you can cut him short in his tracks. How?
Change WP’s unlimited login attempts to a max of 3. Here is how to do that:
- Again, you will need a plugin for this task - we recommend the WPS Limit Login!
- Install the plugin, then click on the settings and locate "local app." Once you are there, you can set a preferred number of login attempts. More importantly, you'll be able to decide how long a user will stay locked before they can try another sign-in. Ultimately, that would chase off any intruder!
So, what next?
Adopt Two-factor Authentication
Say a hacker was able to guess your WP username and password - what then? In that case, it is time to introduce two-factor authentication. It is a service that sends a code to a registered number when there's any login attempt on your WP site.
With two-factor authentication, no one can assess your site without access to the phone of a registered user. At last, eureka – a method that bots and guestimates can't crack!
That said, how can you add two-factor authentication to your WP site?
- Like the previous methods, you will also need a plugin here. From our end, we’ll recommend MiniOrange’s Google Authenticator!
- So, install the plugin. As soon as you do, you'll see a widget. On it, select the "Google Authenticator" option.
- Now, download the “Google Authenticator” on your phone. Open the app and click on the option to scan QR codes.
- After scanning the QR code, the app will generate a code on your phone. Enter that code on the widget on your WP login page. Voila, your two-factor authentication security layer is now active!
Set Auto Logout
The last step to secure your WP login page is to ensure that you don’t leave cookies behind for hackers. As soon as you’re done with work, log out of the site. But what about when you forget to sign out? Ordinarily, WP will do the needful after two days.
Note: If a user clicks the "remember me" box, it'll take two weeks for an auto sign-out. Unfortunately, that's too long and harmful for your data; you should set your auto logouts! Here is how to do that:
- Download the plugin called “Inactive Logout,” install it, and click on “settings.”
- Search for the “inactive logout” section, then click on “basic management” to set a custom timer for idle timeouts.
And that’s it: how to secure your WP login security!
We hope you find the tips helpful. If you need further help, you only need to contact us.


