The chances are that you're new to websites and want to run a speed test. If that's you, this article is for you.In this post, we will walk you through the DIY approach that beginners like you can take to test the speed of their websites. But that's not all.Not only will you find the top tools for testing website speed here. More importantly, you’ll also find tips to help you understand the results of your website speed test.(Before we start, we recommend you read our article on first input delay for more information)So, shall we begin?
4 Tips To Properly Run a Website Speed Test As A Beginner
Regardless of your website speed test tool, the result can be confusing even for a pro. And beyond the best speed testers (which we will get to), there are other factors that you must consider when running a speed test for your websites.Nonetheless, the following tips will help you get accurate results from your speed tests.
Ensure That Your Website Caching Is On
Before you run any test, the first thing you should do is turn on your website caching. Else, the overall result will not adequately reflect the performance of your website.Specifically, you won't get an accurate reading on the effect of caching on your website's performance. So, turn the cache on!However, you should equally know that website caching can be quite tasking. For starters, some cache storage only activates when you request it.And even when the cache stores on request, it takes time. Worse, it would have expired by the time you finally run your website test.So, what can you do?Get a caching plugin like WordPress' Rocket. It proactively builds and stores your website cache within a short time. The best part: WP Rocket is easy to use, especially for beginners.
Turn On Your Website Firewall/CDN Service
Like your website cache, you should also put on the firewall/CDN service before any speed test. Why?While caching is effective, it has limitations. For a start, the system does not block spam bots that often result in a waste of server resources. Also, WP Rocket can't block brute attacks like DDOS.In that case, your firewall should be on. For that, we will advise you to use Sucuri.
Sucuri is a WP firewall plugin and the best of its kind. It blocks malicious attacks and improves your server performance.Note: even Sucuri still needs help. That is why you should get a CDN service. For beginners like you, we will recommend MaxCDN.
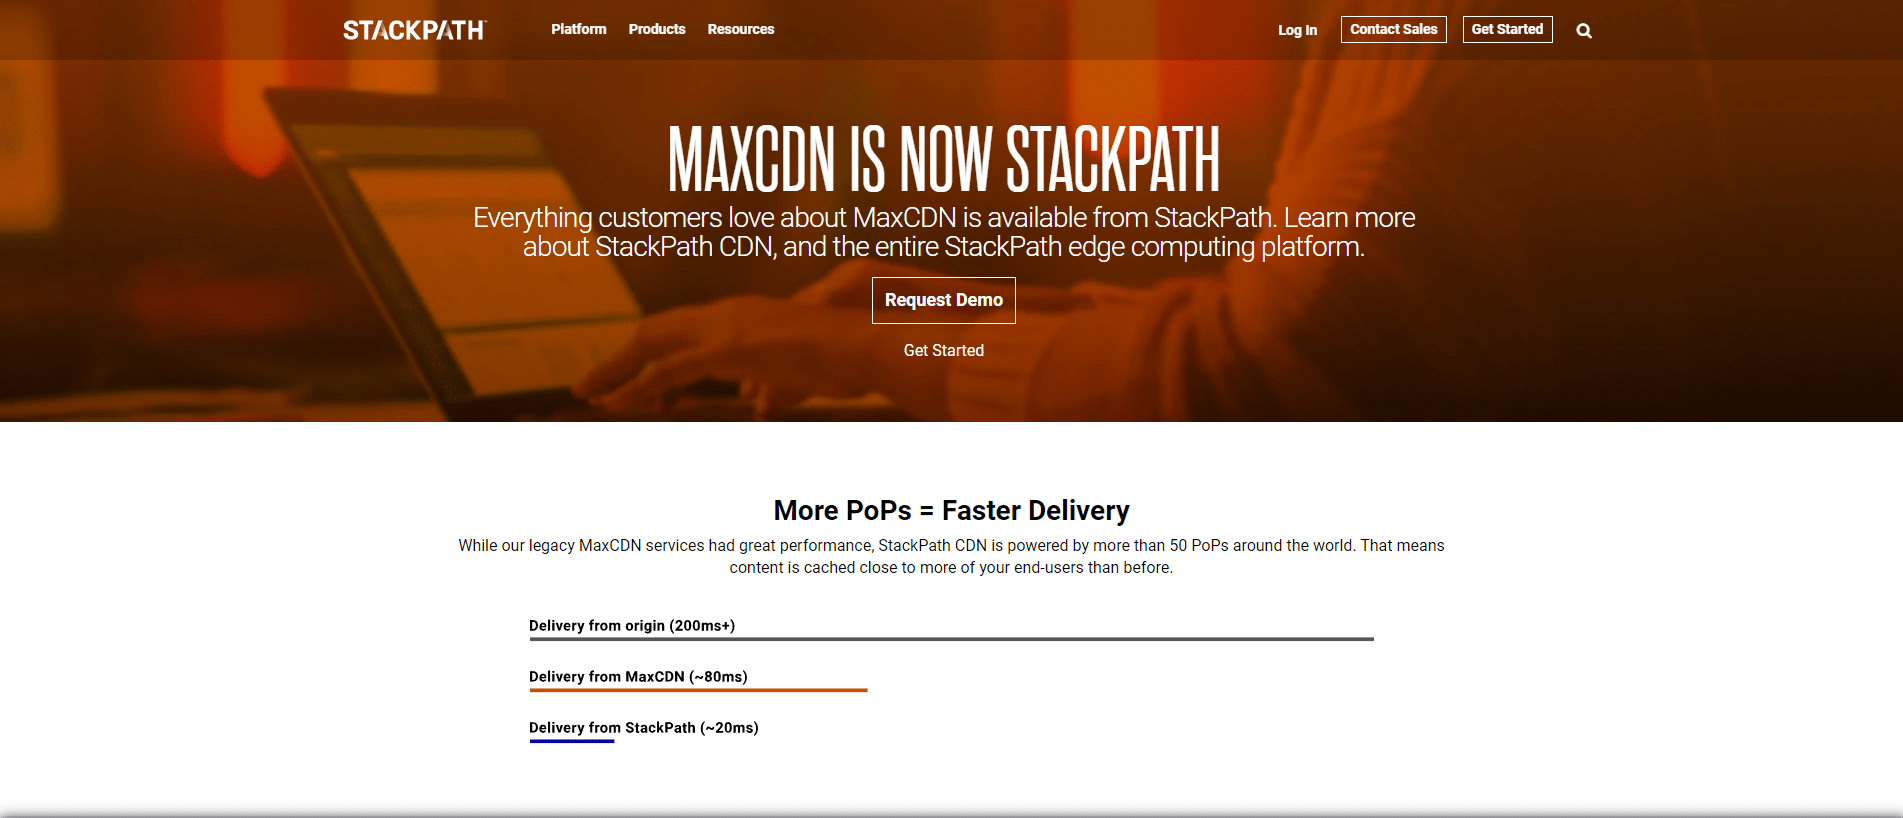
With a MaxCDN, you can spread files around different servers and reduce the load on your server. That way, your website will load fast to its limit before your test.Once your cache, firewall, and CDN have been turned on, you can proceed to your website speed test. But note this:
Only Multiple Tests Counts
We understand that you might run a single test and stop. Don't!A single website speed test doesn't count. The reason for that is because several tests often bring different results.For that reason, run your website speed test at least thrice. If you have the time, repeat the process two times more. Afterwards, find the average of the results.Pro tip: the average result is the true reflection of your website performance.
Try Several Locations
Like the frequency of your website speed test, the geographic location also matters. In other words, try as many locations as possible.Besides, your customers' location is what counts. They are the end users of your website, so you might want to see the performance from their end.For example, if your customers live in Australia, a test from Canada won't reflect the performance of your website.Perhaps you don't know your customers' base. Use Google Analytics! The information thereof will guide you on the best location to test your website's performance.

And if you serve a global audience, you will run multiple speed tests from the top locations. It is best that you try it all out.Pro tip: you can pick just a country from the continent of your customers' base if you have a global reach. That will save you lots of money.Now that you understand the approach to adequate website speed testing, let's show you the top tools!
The Top 5 Tools For Checking The Speed Of Your Website
Before we delve into our list, you should know that obtaining the perfect score on the listed tools is near impossible. Well, you could reach the peak, but your aesthetics might suffer.In essence, find a balance and stick to what your end-users will love. That said, here are the top 5 website speed checkers:Pro tip: you can use as many tools as possible to check the speed of your website. In fact, we will advise you to use multiple aids to test your site's speed.
Byte Check
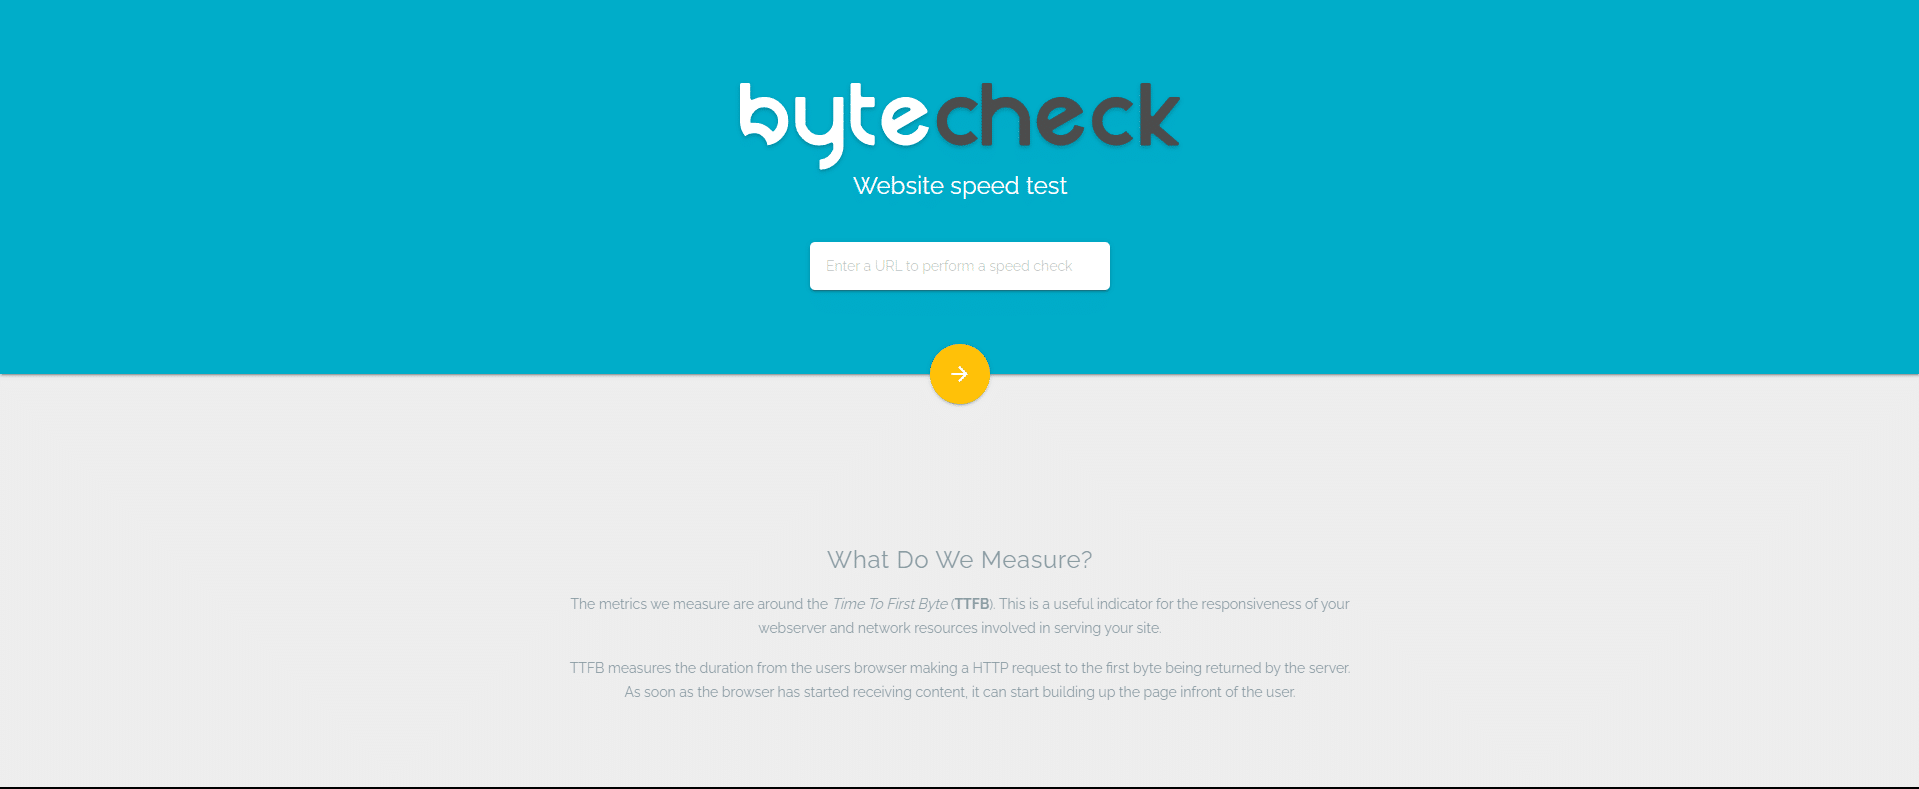
If you want a free speed checker for your website specific to TTFB, try Byte Check. This tool is particularly best for testing WP hosting servers.By the way, TTFB is how much time a website takes to send the first byte to a browser.
IsItWP
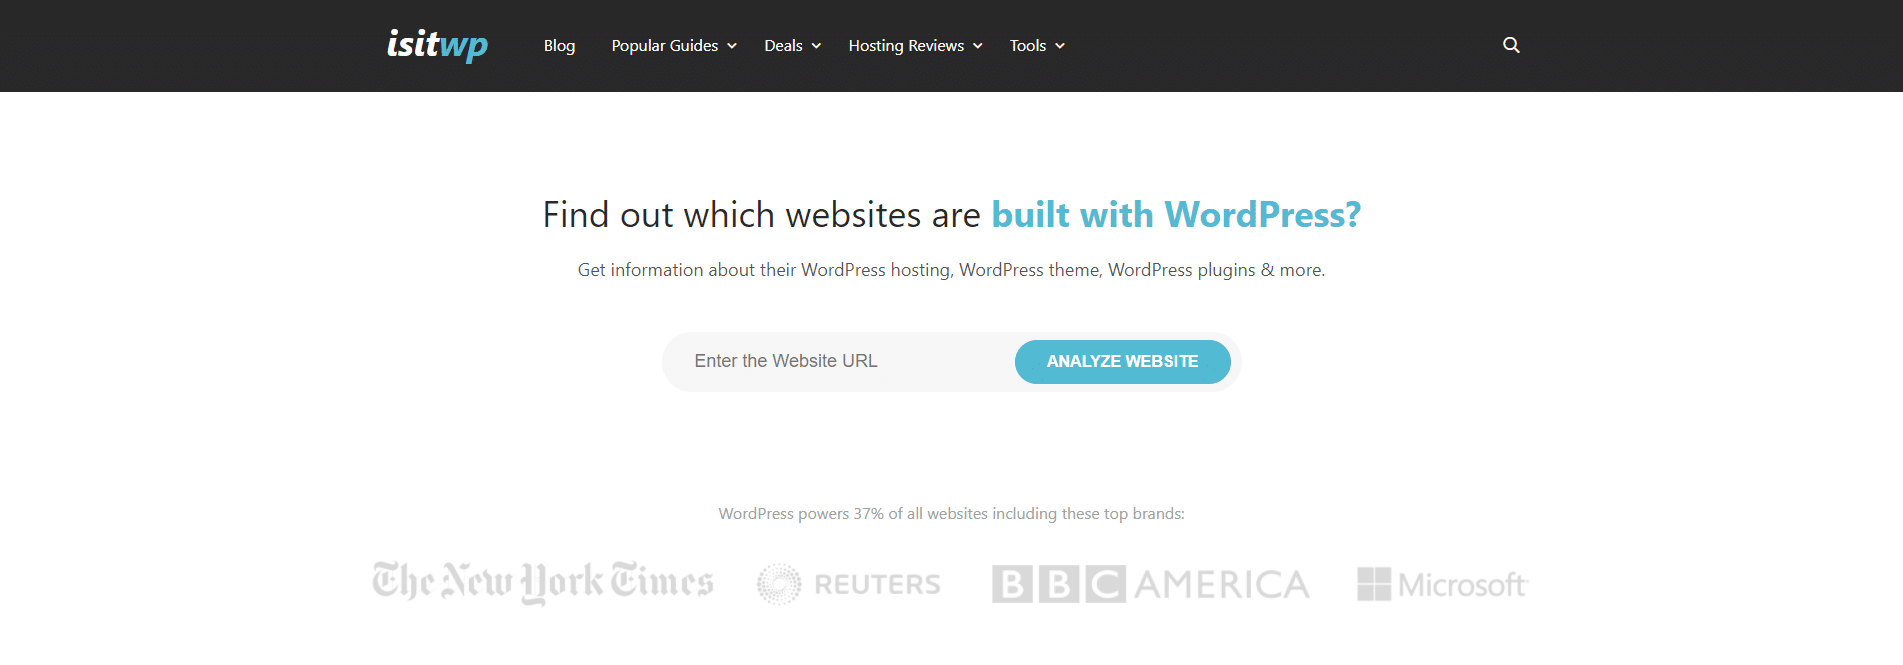
If you seek a beginner-level, easy website speed checker, IsItWP is a perfect fit. This tool is free and cuts through your website performance issues to the bone.With IsItWP, you can run several tests, monitor your server uptime, and get suggestions on how to improve your website. And all that is what you'll get for free!
Pingdom
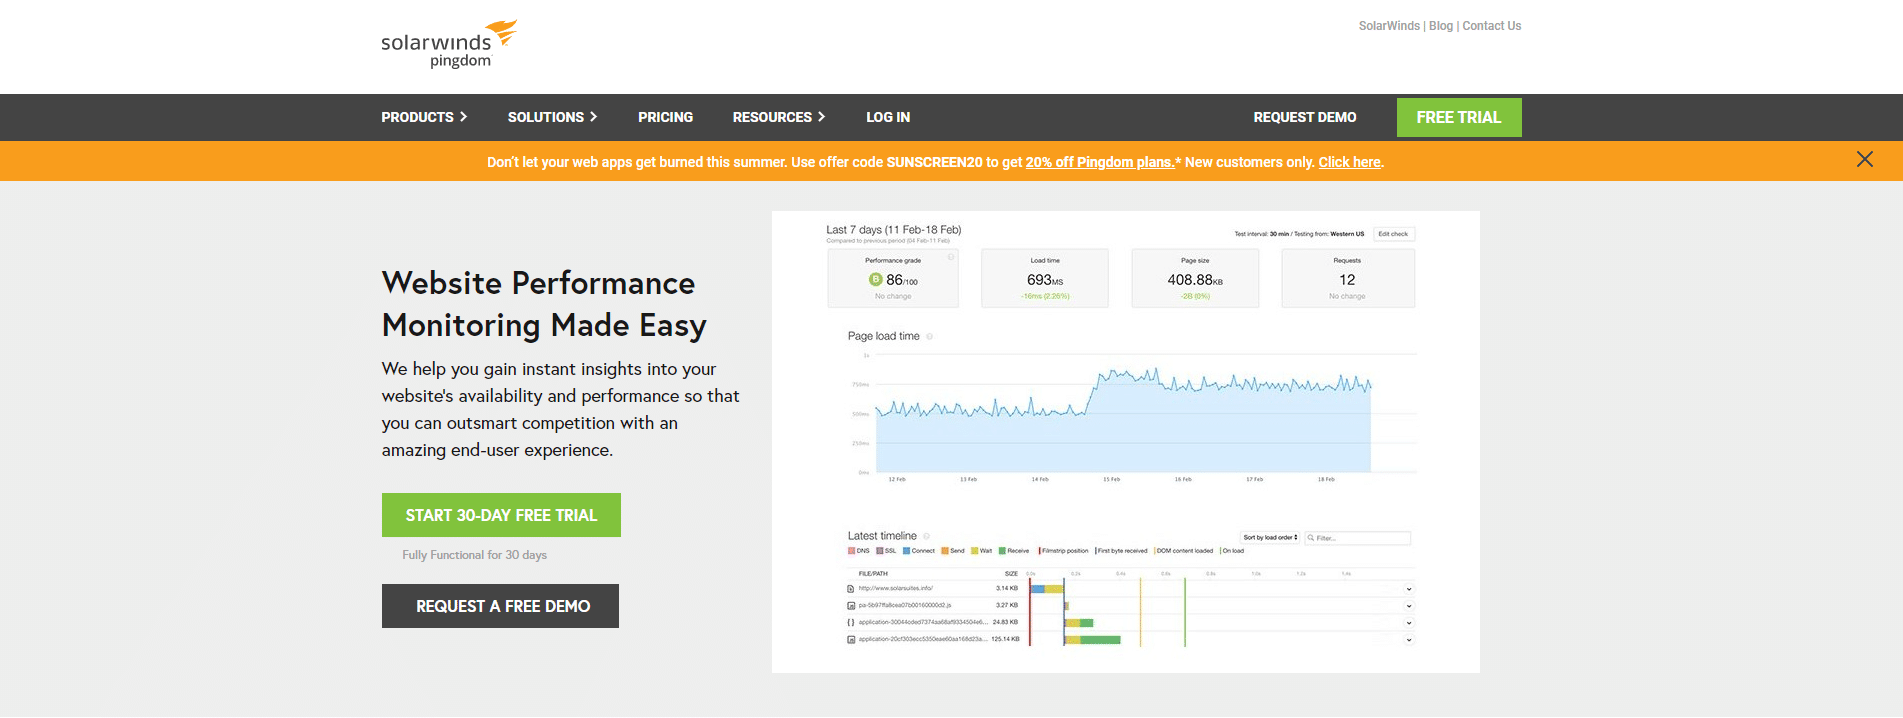
This tool is a level above Byte Checker and IsItWP. Indeed, Pingdom is also easy to use, but it can run tests from different locations. How?The tool has an option that allows you to change your geographical location before running your website speed test. Pingdom, like IsItWP, also suggests improvement hacks you can follow.
Uptrends
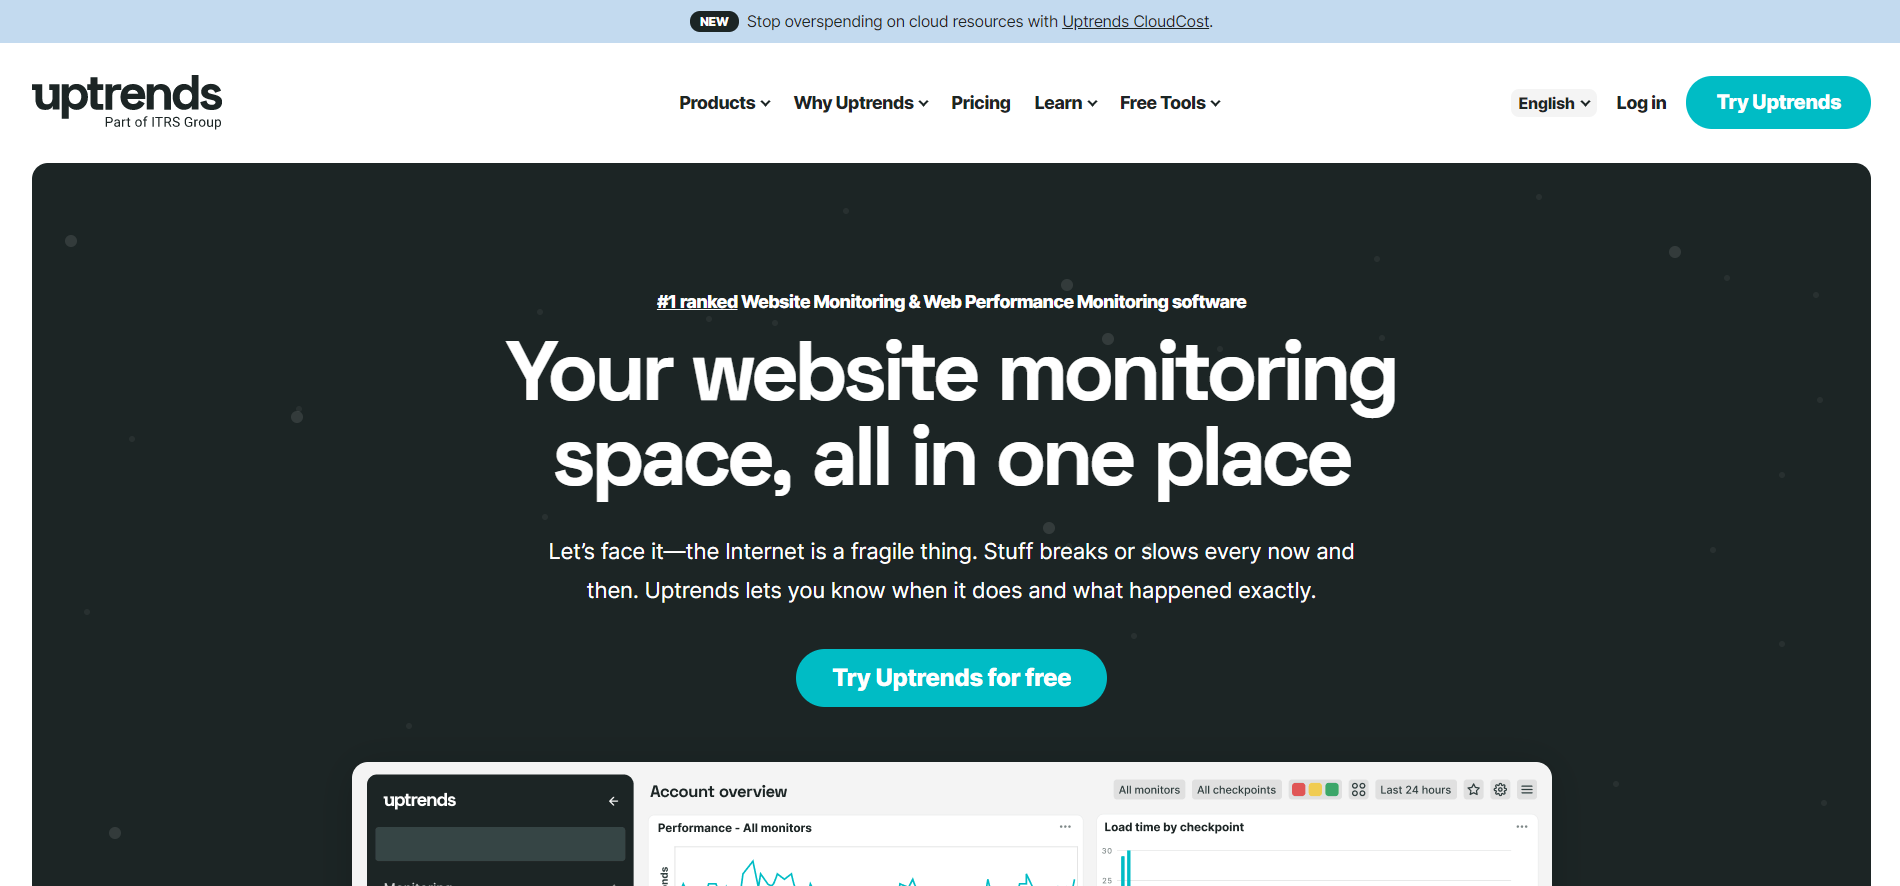
Like Pingdom, Uptrends can also toggle between geographic locations. Even better, Uptrends lets you run website speed tests with a focus on either mobile or desktop devices.Also, you can run a browser-specific speed test with Uptrends. The best part: this tool is free.
WebPageTest

Of the five website speed checkers on our list, WebPageTest is the most advanced. With this tool, you can toggle your browser and the geolocation.Furthermore, WebPageTest is also free. With it, you can carry out your site's speed tests thrice. That way, you can arrive at an average score that gives an adequate score of your website's performance.We understand that you might not yet comprehend the result of your website speed test. If that is the case, let's help you make sense of it!
Making Sense Of Your Website Speed Test Results
We understand that the numerous parameters from your speed test results can be confusing. To help you understand it all, here are the two factors you should focus on as a beginner:
Load Time
The first parameter that matters is your page load time. If your site loads slowly, your bounce rate might increase. Worse, your SEO efforts, and your sales, will take a dive.So, look for page load time on the results. Find the resources that affect the website and handle such.Pro tip: route your page resources such as images through CDN service or WP Rocket.
TTFB (Time To First Byte)
After your page load time, the next crucial factor is how fast your server loads its first byte. A slow TTFB affects your website overall performance.If the slow TTFB continues, you might want to check with your hosting company. Or you could put on your caching system as we'd previously advised, which should improve your TTFB.Other considerations include:
- Gzip compression - reduces the sizes of your files to enable smooth surfing on users' browsers.
- Image compression - help you optimize your images for web and SEO.
- Lazy Loading - is a technique that loads only the media content present on your user's screen. This system is best when you have various media content on your web pages.

By now, we believe you can run your website speed test. If perhaps you need more resources on website performances, check the other posts on our blog, such as how to navigate a 502 gateway error.